Speaker Grill Covers — Installation Guide
Need an illustrated copy to read next to the cabinet?
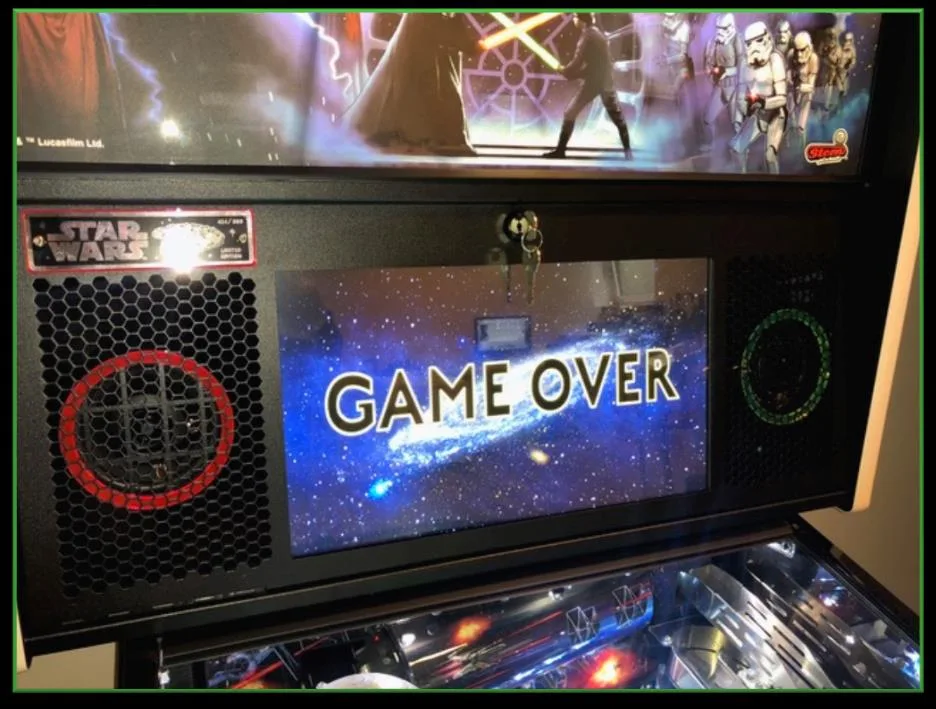
About the covers
Speaker Grill Covers replace the original foam material with 3 mm plexiglass in glossy black. Left and right sides are different — check the labels.
Alongside the covers we offer rings in different colours. The rings sit on top of the covers and are simply laid in.
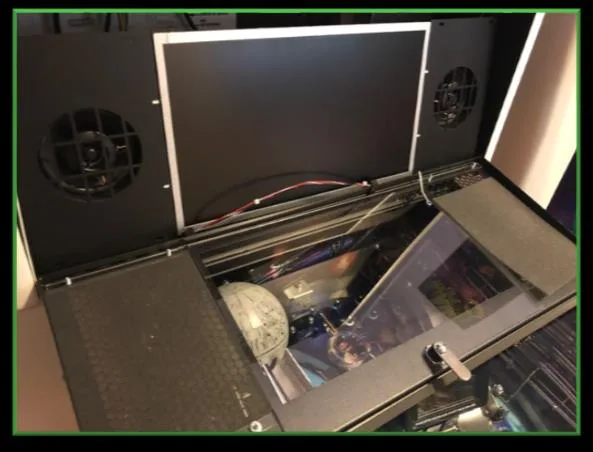
Step 1 — Remove the display
Carefully remove all eight nuts with a 5/16" driver. The display and both side sheets can now be lifted out together — they are bolted to each other.
Place the assembly carefully inside the backbox while you work.
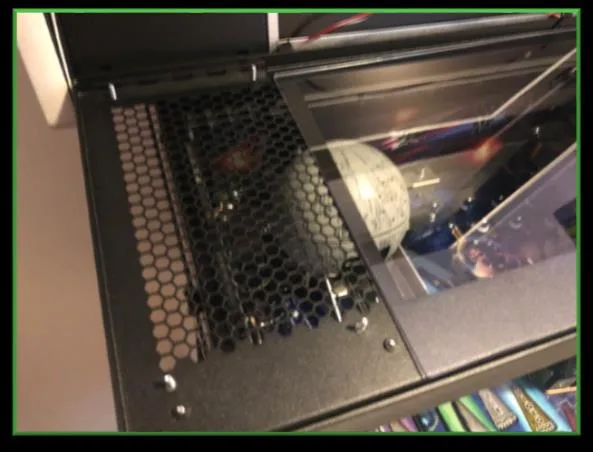
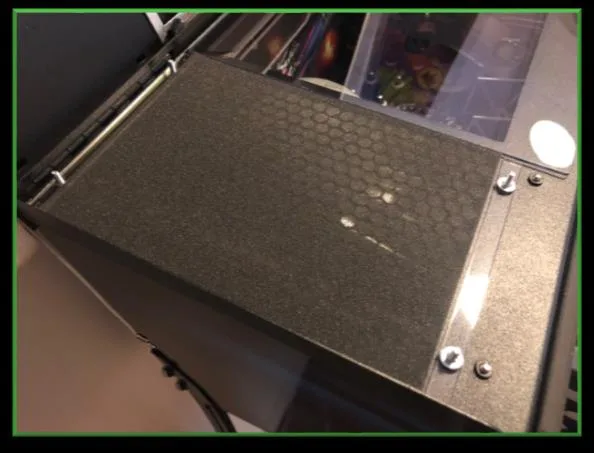
Step 2 — Remove the foam
Take out the foam material and both plastic mouldings. Keep them in case you want to revert later.
Step 3 — Insert covers and rings
Peel the protective foil off the plexiglass covers. Lay each cover in place, then add the colour rings. Refit the display and tighten the nuts — the covers and rings hold themselves through the pressure of the side sheets.
Tools
- 5/16" nut driver
FAQ
- Are the left and right covers the same?
- No — left and right are different. Check the labels before installing.
- Do I need glue?
- No. The covers and rings stay in place from the pressure of the side sheets and the display.
- Can I revert to the original look?
- Yes — the upgrade is fully reversible with no residue. Keep the foam material and the plastic moldings in case you want to restore the original setup.
Need an illustrated copy to read next to the cabinet?