Jurassic Park Premium / LE Playfield Protector — Installation Guide
Need an illustrated copy to read next to the cabinet?
Step 1 — Flippers, slingshots, outlanes
Remove the three flippers, the two outlane plastics and the two slingshots (including the rubbers). The slingshot flasher cables can stay connected — they will follow once the slingshot itself is out.

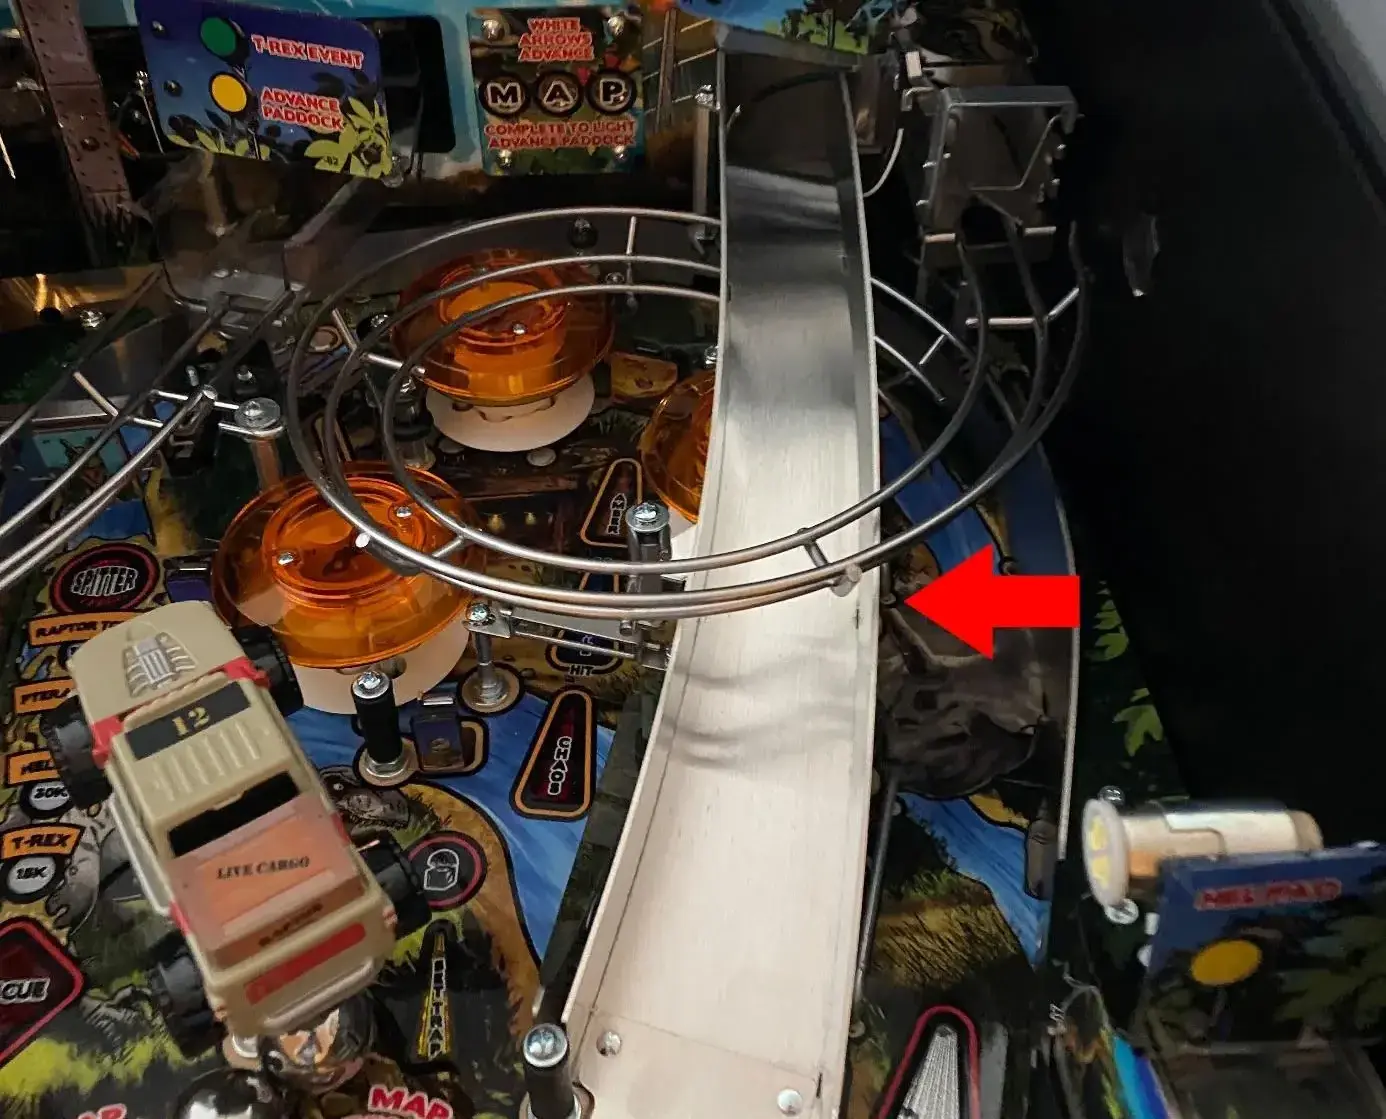
Step 2 — Remove the ramps
Take out the left ramp. To loosen the right ramp, undo the nut and screw at the slingshot — the protector must later sit under the ramp at the slingshot.
Remove the upper right ramp and the spiral ramp together: undo both nuts of the flap under the playfield, unplug both connectors, and lift them out as one unit.

Step 3 — Uninstall the Jeep
The Jeep rides on a spindle. Loosen the socket screw under the playfield — do not remove it completely — then carefully pull the Jeep out. There are two washers and a mount on the spindle: note their order.
When you reinstall: leave 1–2 mm of backlash so the Jeep turns freely. Test with the playfield in playing position.
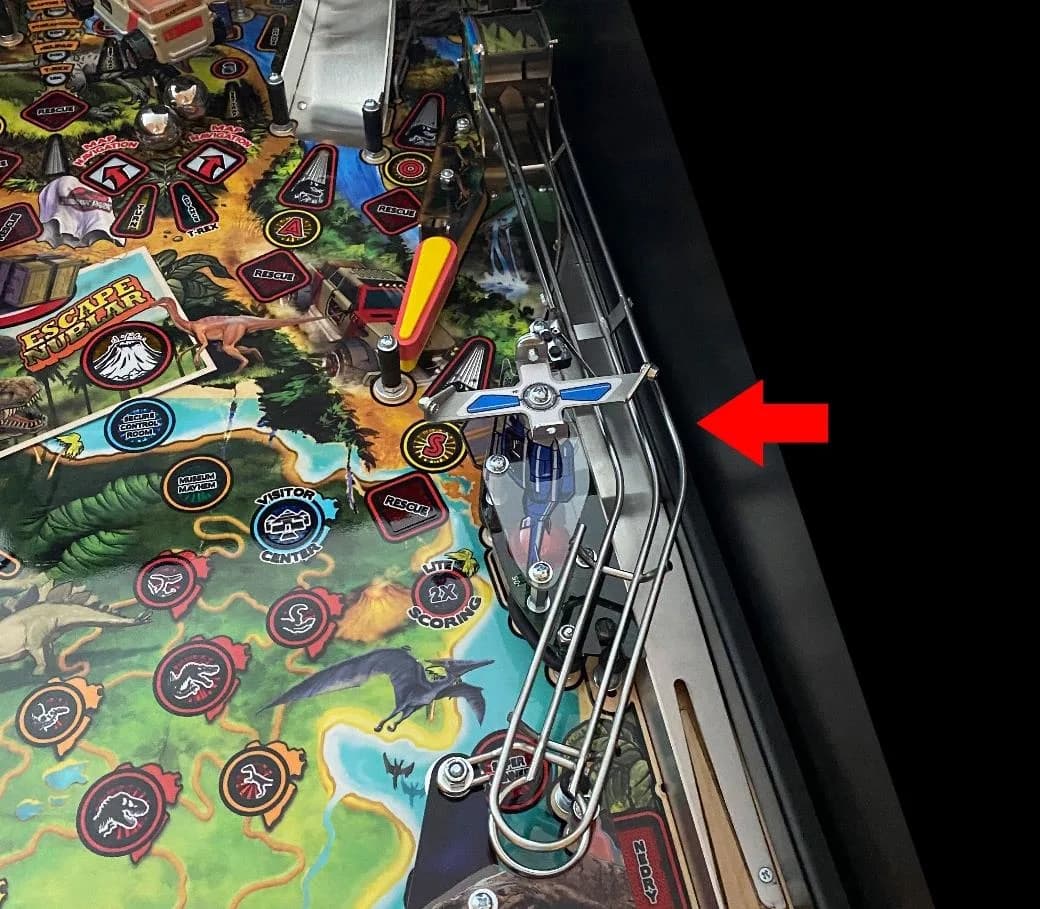
Step 4 — Raptor pen, T-Rex ramp and backboard
Remove the bumper caps and the gate.
The raptor plastic is on two levels — take it off completely. Four connectors must be unplugged.
The T-Rex ramp comes out together with the backboard. First remove the clear plastic, then both optos, then the screw at the flap. The ramp is connected to the backboard with two screws — each has a short sleeve, do not lose them.
Finally unbolt the backboard: two screws on the left, two on the right.
Step 5 — Install the protector and reassemble
Peel the bottom-side film, lay the protector on the playfield, and reassemble everything in reverse order. Leave the top-side film on until the very end.
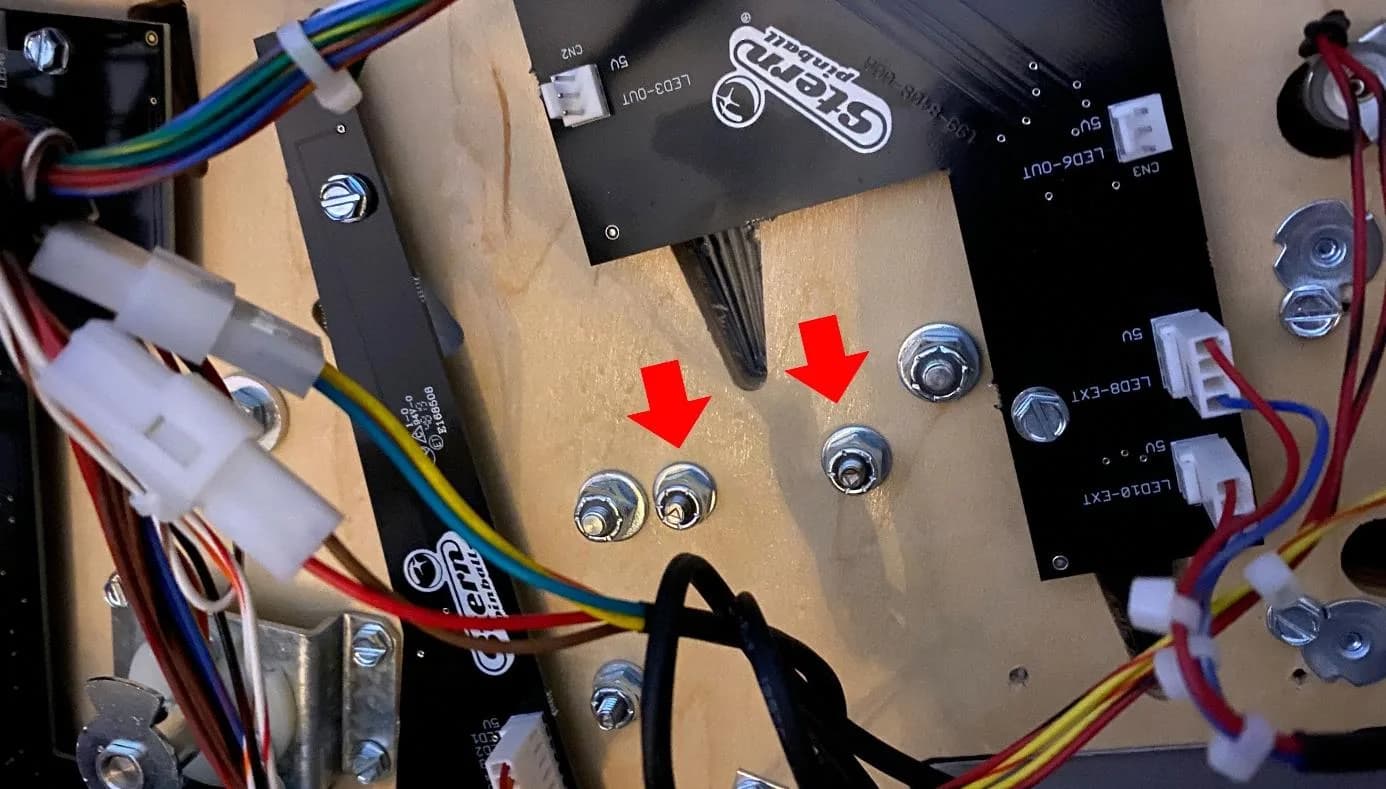
Adjust the drop target bank height with the marked screws. Use service test mode to confirm every switch, opto and bumper registers.
Tools
- Phillips head screwdriver
- Nut driver / socket set (incl. for socket screw under Jeep)
- Sharp scissors
- Microfibre cleaning cloth
- Phone for reference photos
FAQ
- Does this guide cover the Pro edition?
- No — this guide is for the Premium and Limited Edition, which share the same playfield. The Pro edition has a different layout (no Jeep, simpler ramps) and needs its own guide.
- How much play should the Jeep have on its spindle?
- Roughly 1–2 mm of backlash so the Jeep turns easily. Test with the playfield in the playing position before you reassemble everything.
- What happens to the washers under the Jeep?
- There are two washers and a mount on the spindle — keep them in order and reinstall them in the same configuration.
Related Guides
Stranger Things Playfield Protector — Installation Guide
This guide walks you through fitting a Playfield Protector to a Stern Stranger Things pinball machine. Plan roughly 60–90 minutes. You remove flippers, slingshots, ramps and the backboard, lay the protector on the playfield, then reinstall every part and re-level the drop target bank.
The Beatles Playfield Protector — Installation Guide
A relatively quick install — most of the work is removing flippers, plastics and bumper caps. After laying the protector you adjust the turntable and the drop target banks to the new playfield height.
Playfield Protector — Generic Installation Guide
Use this guide as background reading when there is no machine-specific guide for your pinball. It covers the universal steps: preparation, laying the protector, adjusting drop target banks and other mechanisms, and finishing touches.
Need an illustrated copy to read next to the cabinet?