Stranger Things Playfield Protector — Installation Guide

Need an illustrated copy to read next to the cabinet?
Before you start
Power down the machine and lift the playfield to its service position. Have a small parts tray within reach — you will be removing a lot of plastics, screws and ramps and you do not want any of it on the floor.
Clean the playfield with a microfibre cloth and dry it fully before you place the protector. Fingerprints under the protector are visible forever, so thin cotton or nitrile gloves help.
Step 1 — Remove the parts
Work top-to-bottom and remove these parts in order:
- Slingshots including the rubber rings
- Both flippers
- The outlane plastics
- The left and right lower ramps
- The gate at the end of the shooter lane
- The right ramp — three cables run through the backboard; disconnect them under the playfield. Sometimes it is faster to unscrew the optos or switches at the ramp than to feed the cables through.
- The steel ramp
- The left ramp
- The backboard
For the left ramp: unscrew both optos and every ramp screw. The ramp is anchored in the backboard. The cleanest path is to loosen the backboard — three screws under the playfield and two on each side at the back — then lay it down inside the cabinet with the ramp still attached.
Step 2 — Remove the middle ramp and gates
Take out two screws on each side of the middle ramp/canvas. The gate sits on a small plastic screw plus a nut at the gate itself. There is also one screw on the movable ramp/canvas. Unplug the cables underneath the playfield before lifting it out.
Remove the remaining two gates. It is fine to loosen them on just one side and push them aside.
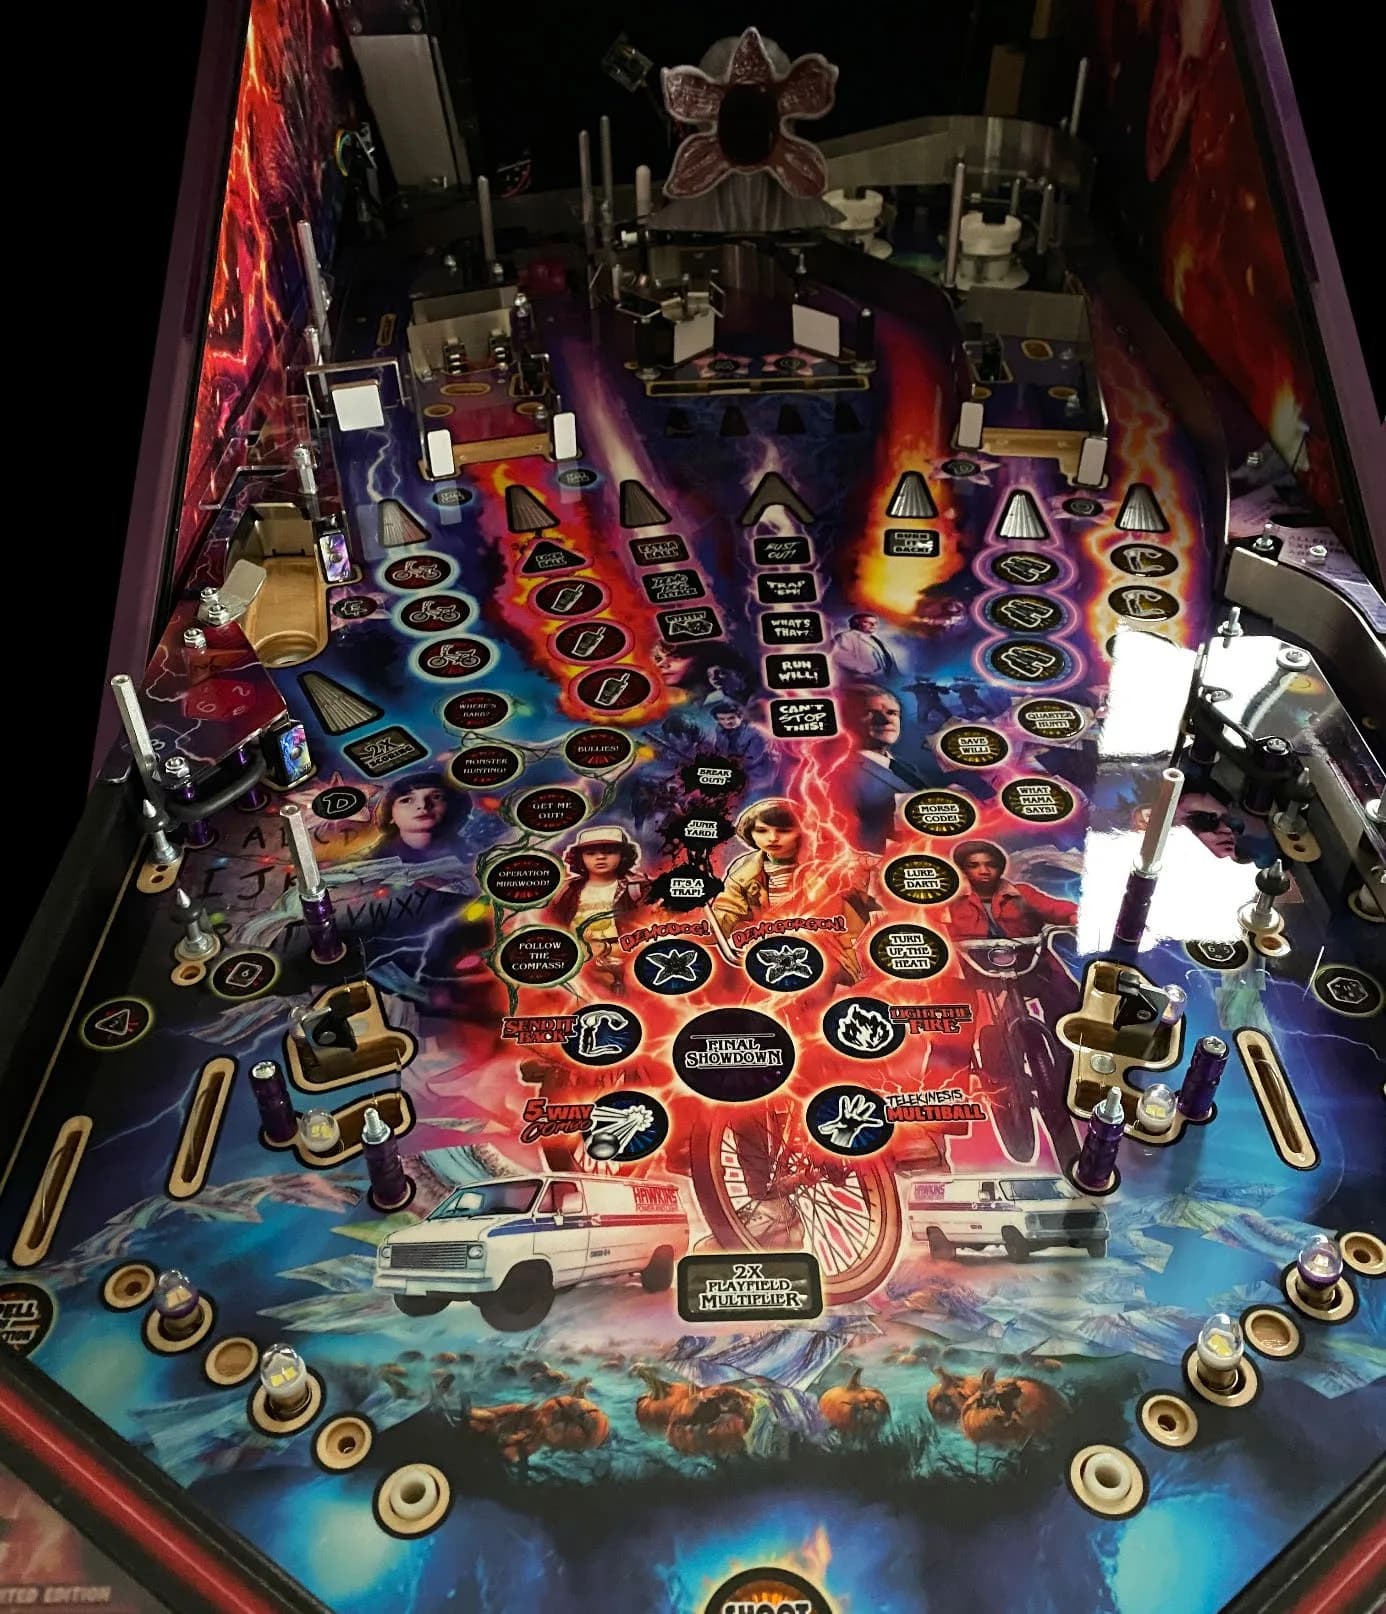
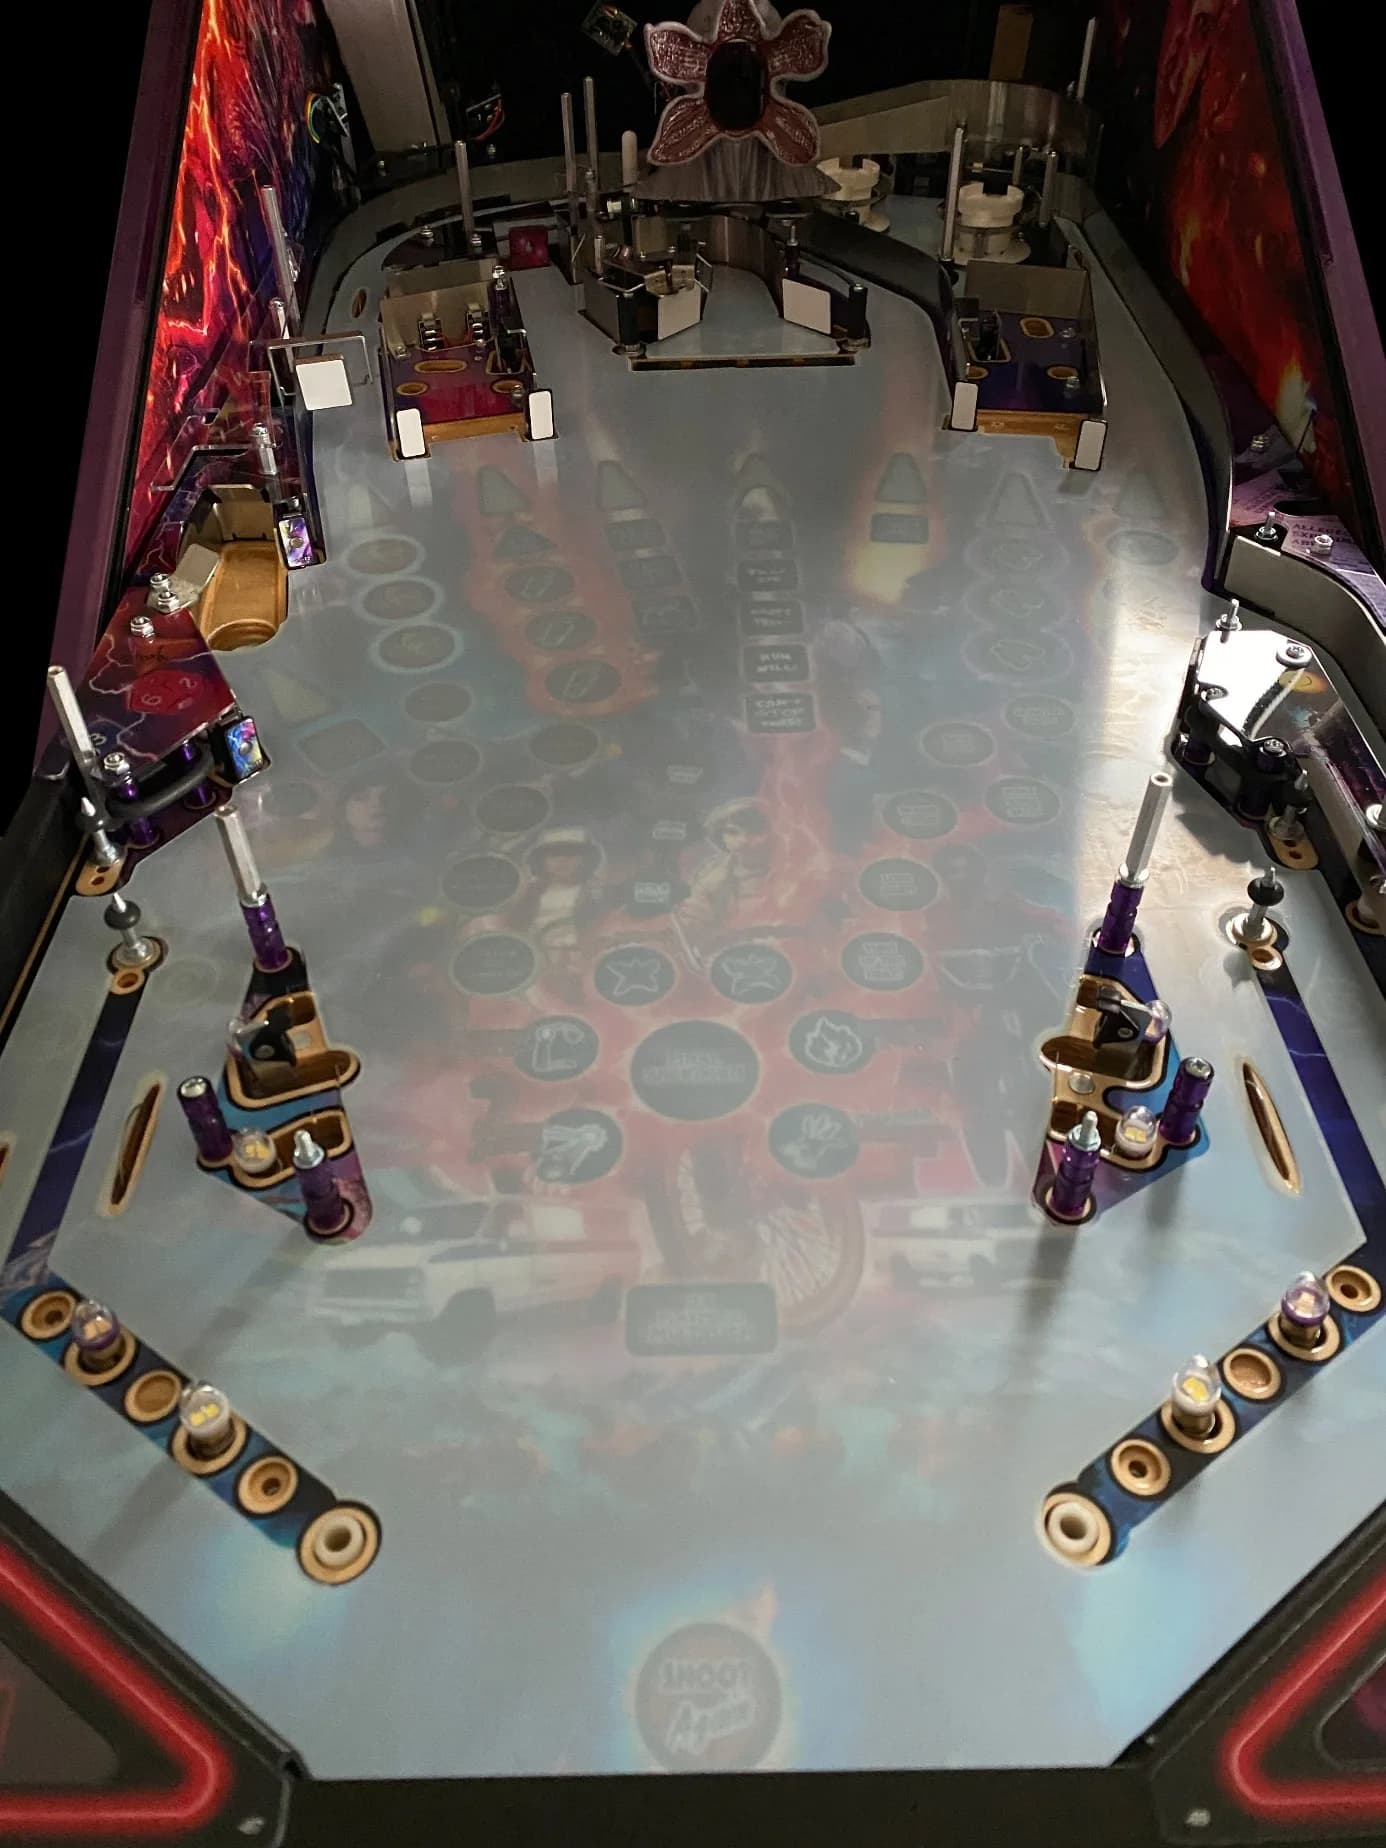
Step 3 — Install the protector
Peel off the protective film from the back side of the protector. Lay it on the playfield. Thread it carefully under the spinner on the left side and — even more carefully — over the Demogorgon.
Leave the top-side protective film on for now. It keeps the surface free of fingerprints while you reinstall the parts.
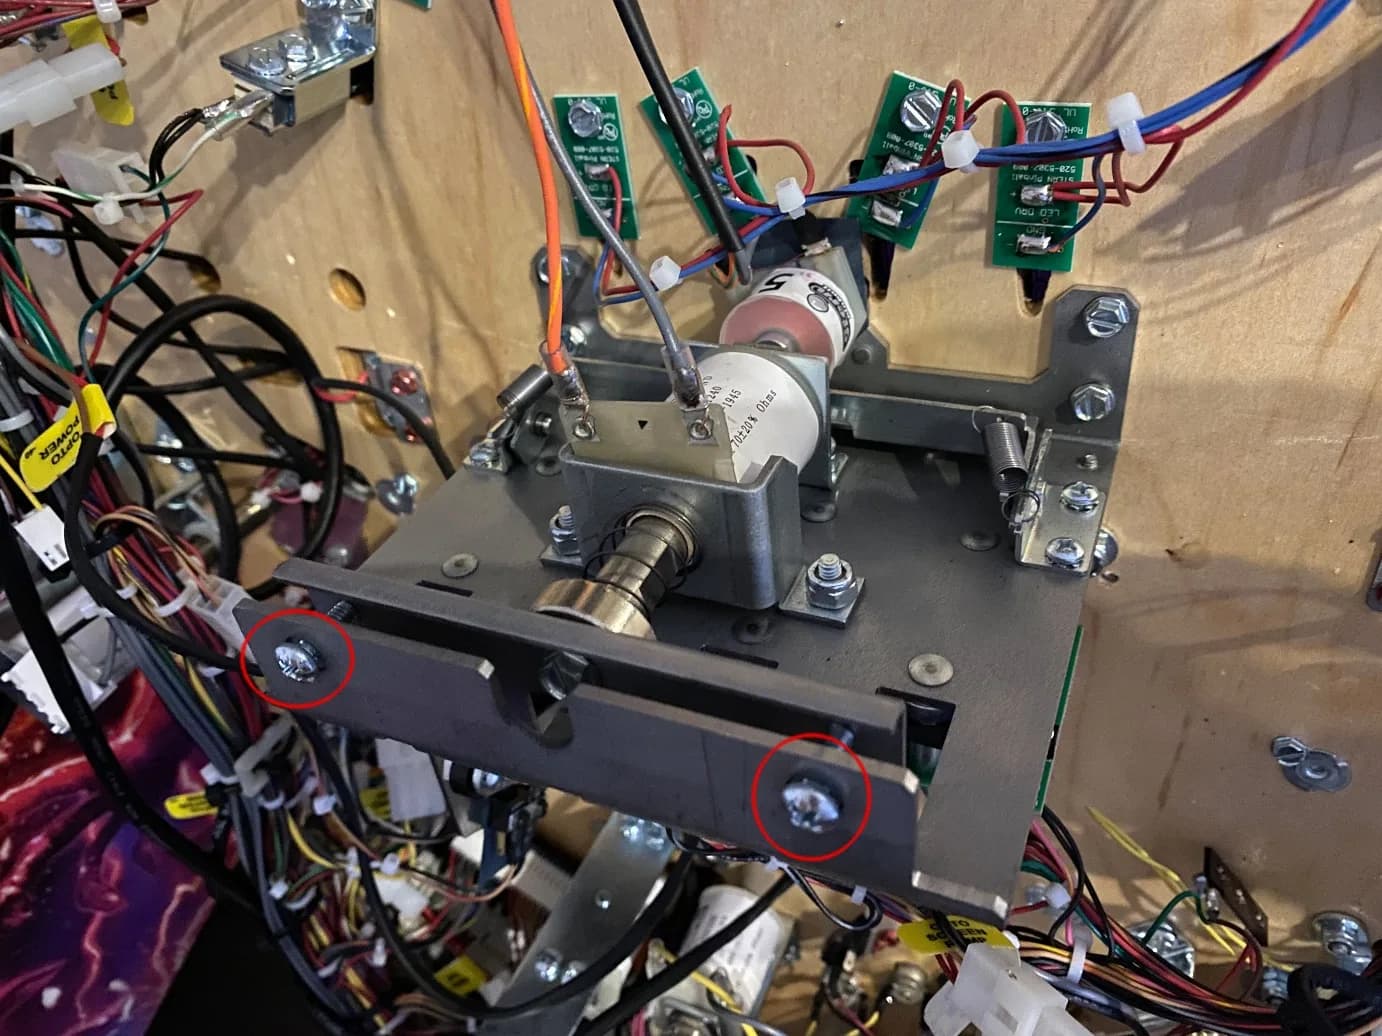
Step 4 — Adjust the drop target bank
The drop targets sit slightly lower than the new playfield surface and need to be raised. Use the marked screws at the target bank to bring the targets flush with the protector. Test each target through the service menu before reassembling.
Step 5 — Reassemble and finish
Reinstall everything in reverse order: backboard, left ramp, steel ramp, right ramp, middle ramp/canvas, gates, lower ramps, outlane plastics, flippers, slingshots.
Once everything is back, peel the top-side protective film off the protector. The protector should be able to move very slightly in every direction by hand — that is normal. If it is stuck somewhere, trim it carefully with sharp scissors. Ramp flaps must rest on top of the protector, never underneath. Do not bend or fold the protector.
Finally, run through the service test mode to confirm all switches, optos and bumpers still register.
Tools
- Phillips head screwdriver
- Nut driver / socket set
- Sharp scissors
- Microfibre cleaning cloth
Supplies
- Stranger Things Playfield Protector
- Playfield cleaner
- Thin gloves (optional)
- Fresh silicone rubber rings (optional)
FAQ
- Does this protector fit all Stranger Things editions?
- Yes. The Stern Stranger Things Limited Edition, Premium and Pro share the same playfield, so the protector fits all three.
- Do I really need to remove the backboard?
- Yes. The left ramp connects through the backboard, so loosening the backboard makes the ramp removable without forcing cables through it. It is also the cleanest way to access the upper playfield.
- Why does the drop target bank need adjustment?
- The protector raises the playfield surface by a fraction of a millimetre. The targets must be re-levelled so they sit flush with the new surface — use the marked adjustment screws on the bank.
Related Guides
The Beatles Playfield Protector — Installation Guide
A relatively quick install — most of the work is removing flippers, plastics and bumper caps. After laying the protector you adjust the turntable and the drop target banks to the new playfield height.
Jurassic Park Premium / LE Playfield Protector — Installation Guide
The most complex install in our catalogue — plan two hours. You remove flippers, slingshots, several ramps, the Jeep, the raptor plastic, the T-Rex ramp and the backboard before the protector goes on. Take photos as you go.
Playfield Protector — Generic Installation Guide
Use this guide as background reading when there is no machine-specific guide for your pinball. It covers the universal steps: preparation, laying the protector, adjusting drop target banks and other mechanisms, and finishing touches.
Need an illustrated copy to read next to the cabinet?