Medieval Madness — Playfield Protector & Target Bank Tip
Need an illustrated copy to read next to the cabinet?
Overview
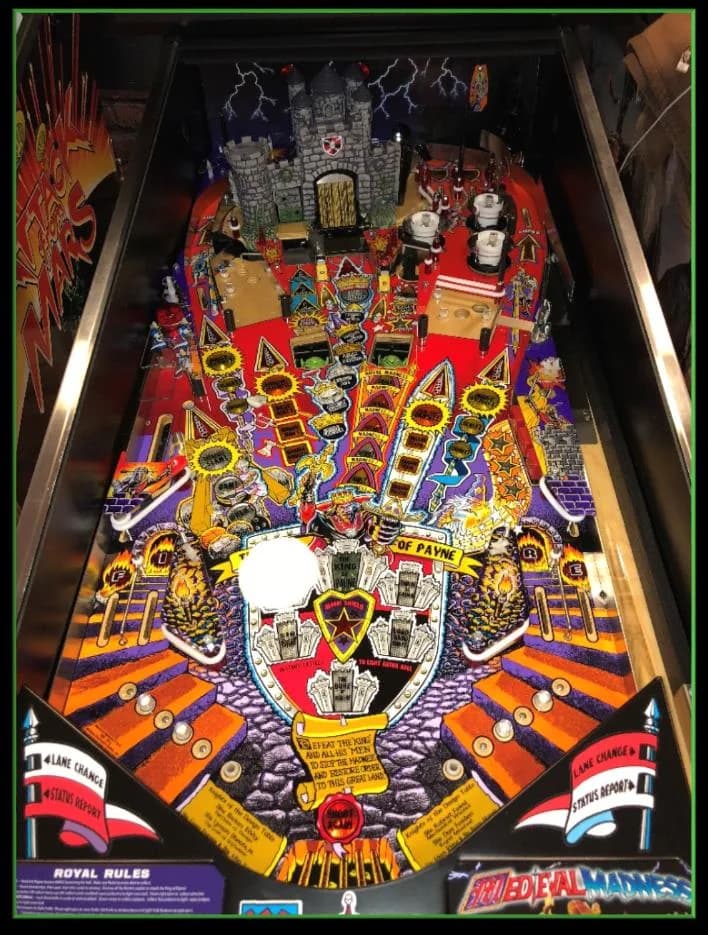
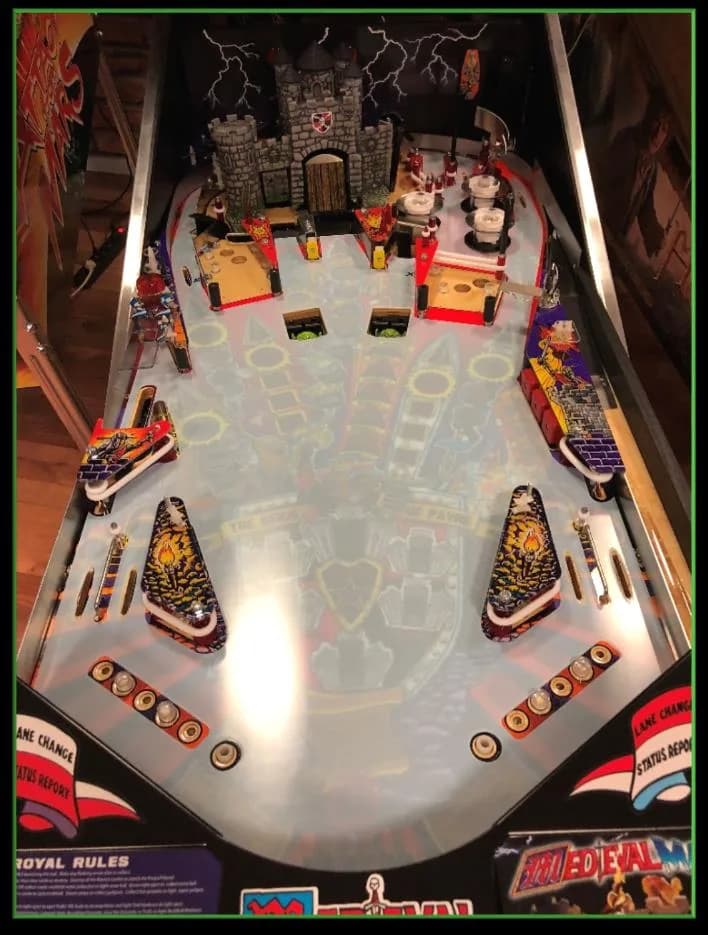
Medieval Madness installs follow the standard pattern. The photos below show the playfield dismantled (left) and the protector laid in place with the top-side protective foil still attached (right). Leaving the foil on means you can handle the parts without worrying about fingerprints on the protector.
For full step-by-step guidance see our generic install guide.
FAQ
- Does this tip apply to the Remake too?
- Yes — Medieval Madness and Medieval Madness Remake share the same playfield layout, so the install steps and target bank adjustment are identical.
- When should I peel the upper foil?
- Late in the install — once most parts are back in place. The foil protects the surface from fingerprints and tool marks while you work.
Related Guides
Stranger Things Playfield Protector — Installation Guide
This guide walks you through fitting a Playfield Protector to a Stern Stranger Things pinball machine. Plan roughly 60–90 minutes. You remove flippers, slingshots, ramps and the backboard, lay the protector on the playfield, then reinstall every part and re-level the drop target bank.
The Beatles Playfield Protector — Installation Guide
A relatively quick install — most of the work is removing flippers, plastics and bumper caps. After laying the protector you adjust the turntable and the drop target banks to the new playfield height.
Jurassic Park Premium / LE Playfield Protector — Installation Guide
The most complex install in our catalogue — plan two hours. You remove flippers, slingshots, several ramps, the Jeep, the raptor plastic, the T-Rex ramp and the backboard before the protector goes on. Take photos as you go.
Need an illustrated copy to read next to the cabinet?